

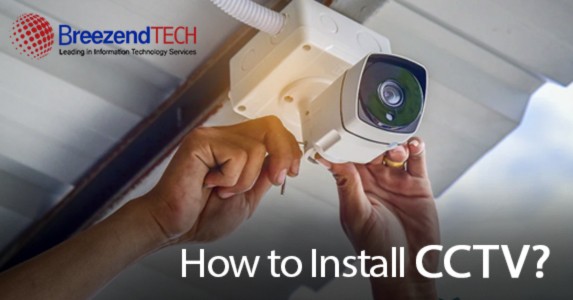
How To Install CCTV? A Step-By-Step Brief Guide Is Just Ahead
CCTV cameras are not easy to buy; there are several pros and cons you need to keep in mind while choosing. For battery security and keeping a smooth check on activities, you need the best CCTV camera at an affordable price.
Even after choosing your camera, calling a technician to make this small piece function isn't the best idea. You should know the ins and outs of everything you have at home, right?
Therefore, to guide you best with the steps involved in setting up a CCTV, we are here!
Step #1 Choosing the Right Camera
- Nature Of The Camera:
Before buying a CCTV camera, you should be well aware of your requirements. You need a different type of camera if you’re looking to fit one in your bedroom or dining room and a different one for your lawn or garden.
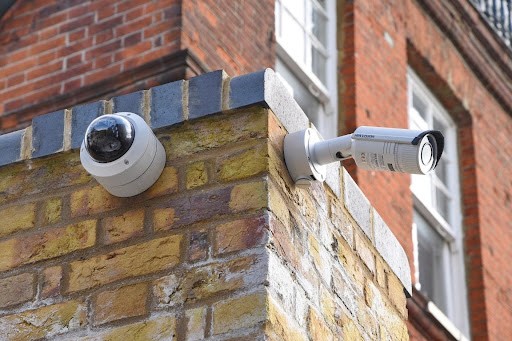
This difference is huge because many cameras are only made for an indoor setting, where the CCTV is not exposed to different weather conditions. A camera that you wish to fix outside your main gate, on the lawn, or even in the gallery should be an outdoor CCTV camera.
These cameras can easily handle being exposed to water when it rains or even snow at times!
You can also opt for a camera that you can use indoors and outdoors. The major advantage is, you can switch the camera inside and out whenever you feel the need!
- Analogue Or IP?
Before you finalize what type of camera you need to buy, make sure you understand whether you can handle IP better or analog. Analog cameras are easy to operate for some people due to their traditional nature.
On the other hand, IP cameras are more advanced and offer enhanced video sharing over an IP network. There is also a difference in the cables and installation method. IP cameras use Cat 5 or Cat 6 cables, while analogue HD cameras use BNC cable.
- Resolution:
Make sure that you choose the best quality and premium results. Imagine you end up buying a camera that is long-lasting and easy to install, but the video resolution it outputs doesn't even clearly let you see who's in the room!
That would surely be a loss of both time and money for you. Therefore, we suggest that even if you have to go a bit out of budget and wait to buy a camera with clear video results, do it for a worthy purchase!
Step #2 The Right Place to Fix a CCTV
- For Indoors at Home:
When you've opted for the best indoor camera from the market, making the best use of it involves choosing the right spot for it. You cannot fix the CCTV in a prominent place. It should be hidden or at some corner.
But what many people tend to ignore when fixing a camera by themselves because the camera should get a wide view. A clear picture of each detail inside the house is your aim.
- In An Office Setting:
If you’re looking for the best spot to fix a CCTV camera in an office, it's not only the ceiling or corners. Offices contain more furniture and are way more congested at times.
Apart from the ceiling, you can fix cameras near doors, windows, or at the corner of pillars to cover even the mid-portion of a room that will not be as clearly visible through the camera on the ceiling.
- At A Shop:
A shop, supermarket, or mart needs security cameras more than any other place. A single CCTV isn't enough for these places, but the first best spot is surely the ceiling.
The second place you should place a camera is near the cash counter. CCTVs could also be fixed in between shelves and aisles to keep a better eye on any thief entering the store disguised as a buyer.
Step #3 Fixing and Installation
- Drill Accurately:
You get a guide for how to drill and in what pattern inside the box of the CCTV camera. It usually has a circle made on it, and you can place this right on the wall to mark drill points accurately.
Next, drill the points you marked and make sure the circle you drew fits the camera perfectly. If you end up drilling wrongly, though the camera won't be affected, you'll end up ruining the walls of your place! Some CCTVs kits also provide a drill pin or some additional accessories that make it easier to drill on your own.
- Flexible Fixing Positions:
You can fix the camera as per your need and decide wherever you want your camera to face. First, unscrew your camera's neck and loosen the joints to make it more flexible.
When you’ve decided what position, your camera is best set at, tighten the screws back and fit your camera easily!
It's always a better idea to read the manual to fit and install the CCTV. We suggest reading the manual because every brand has different methods for adjusting the camera to personalized needs.
- Dealing With Cables:
Finally, the most crucial step whilst installing a camera is to set the cables. For those on deadline with an IP camera, a Cat5 or Cat 6 cable is usually best. In the case of an analogue camera, dealing with BNC cables is a little bit more complex.
Analogue HD cameras are connected using BNC cables and a DC connector pin for power. There are different types of connectors for any camera. For instance, there are 3- or 2-piece BNCs, BNC screw-on types, and BNC twist-on cables.
When your CCTV camera is connected, you need to connect the power and data cables (these are two important cables attached with the camera's neck) to the DVR or NVR hard disk - whichever suits your CCTV.
Now that you are well aware of the prerequisites to buy a CCTV camera, you can certainly install one on your own!
Here’s a note: You can always contact Breeze End Technology for CCTV installation and maintenance services

.png)


Comments (0)